Create Your First React Desktop Application in Electron with Hot-Reload
October 13th, 2019

Share This Post
If you're a JavaScript developer you might have had most (or all) of your experience building web applications especially with all of these hot new trending technologies being released in every corner within the JavaScript community over the past few years. This might have had an impact on what you decided to develop with over the years.
When we're surrounded by a constantly changing environment in the JavaScript ecosystem that is mostly involved with apps in the web, we might even question whether desktop applications are even worth to get into. A stackoverflow survey for 2019 revealed that there is still a good percentage of desktop developers out there ranging to about 21% of 90,0000 survey participants that are developers, worldwide.
In other words, developing apps in the desktop are still an ongoing popular choice. And so if you were wondering on how to begin with creating your first modern desktop application using JavaScript, then I hope this post will help you to get started with writing your own desktop software application!
We will be using Electron as our main tool. We will also be installing React as we will be using it to get started with building our user interfaces.
The first thing we are going to do is to create our project using create-react-app which will be used to provide react and some other useful tools like Jest for running tests. For this tutorial, I will call our project electron-react-typescript-app:
If you want to grab your copy of the repo, visit this link
npx create-react-app electron-react-typescript-app`Running that will create the electron-react-typescript-app folder and install the necessary dependencies listed in package.json.
Now let's go ahead and clean up the files we won't be needing. This is how my directory ended up looking like:
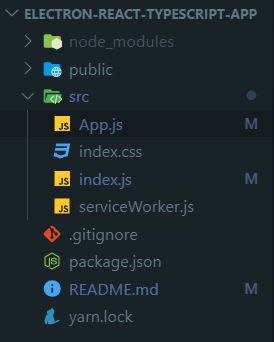
And here is our App.js component:
import React from 'react'

function App() {
  return <h1>Our Electron App</h1>
}

export default App
Now we will go ahead and install electron as a dependency:
npm i electronAnd then we will install electron-builder, a complete solution to package and build a ready for distribution Electron app with auto update support out of the box.
Install it as a dev dependency:
npm i -D electron-builderNote: -D is just an alias for --save-dev
Go ahead and create a "build" property in package.json since electron-builder will be using that:
{
  "name": "electron-react-typescript-app",
  "version": "0.1.0",
  "private": true,
  "homepage": "./",
  "build": {
    "appId": "some.id.ofyours",
    "directories": {
      "buildResources": "assets"
    },
    "win": {
      "category": "your.app.category.type",
      "iconUrl": "path-to-icon.png"
    },
    "mac": {
      "category": "your.app.category.type",
      "iconUrl": "path-to-icon.png"
    }
  },
  "dependencies": {
    "electron": "^6.0.12",
    "react": "^16.10.2",
    "react-dom": "^16.10.2",
    "react-scripts": "3.2.0"
  },
  "scripts": {
     "electron": "electron .",
    "start": "react-scripts start",
    "build": "react-scripts build",
    "test": "react-scripts test",
    "eject": "react-scripts eject"
  },
  "eslintConfig": {
    "extends": "react-app"
  },
  "browserslist": {
    "production": [
      ">0.2%",
      "not dead",
      "not op_mini all"
    ],
    "development": [
      "last 1 chrome version",
      "last 1 firefox version",
      "last 1 safari version"
    ]
  },
  "devDependencies": {
    "electron-builder": "^21.2.0"
  }
}
You can read all of the available options here.
Note: For projects created using create-react-app, you must put the value to the "homepage" property to "./" so that the paths correctly resolve throughout the app, since CRA automatically produces our files assuming our app is hosted from the server root. This is to ensure that the generated index.html file correctly loads the assets after building. If you're unsure of what this means, just trust me and do it :).
When you run npm run electron it will give an error like this:
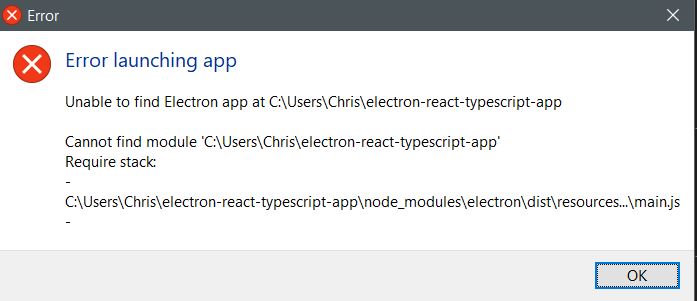
That's because electron cannot find a file to read from. We can create an electron.js file in the root directory or we can create a start script in the src directory which is more intuitive. Let's create a start.js file in the src directory and write some code to initialize a BrowserWindow with some fixed dimensions:
const electron = require('electron')
const app = electron.app
const BrowserWindow = electron.BrowserWindow

const path = require('path')

let mainWindow

function createWindow() {
  mainWindow = new BrowserWindow({ width: 800, height: 600 })

  mainWindow.loadURL(`file://${path.join(__dirname, '../public/index.html')}`)

  mainWindow.on('closed', () => {
    mainWindow = null
  })
}

app.on('ready', createWindow)

app.on('window-all-closed', () => {
  if (process.platform !== 'darwin') {
    app.quit()
  }
})

app.on('activate', () => {
  if (mainWindow === null) {
    createWindow()
  }
})
After we've done that we have to add a new property to package.json pointing towards this file so that running npm run electron will guide the program to load up start.js:
{
  "name": "electron-react-typescript-app",
  "version": "0.1.0",
  "private": true,
  "main": "src/start.js",
  "build": {
    "appId": "some.id.ofyours",
    "directories": {
      "buildResources": "assets"
    },
Running npm run electron will now open up a window loading up the loading.html file:
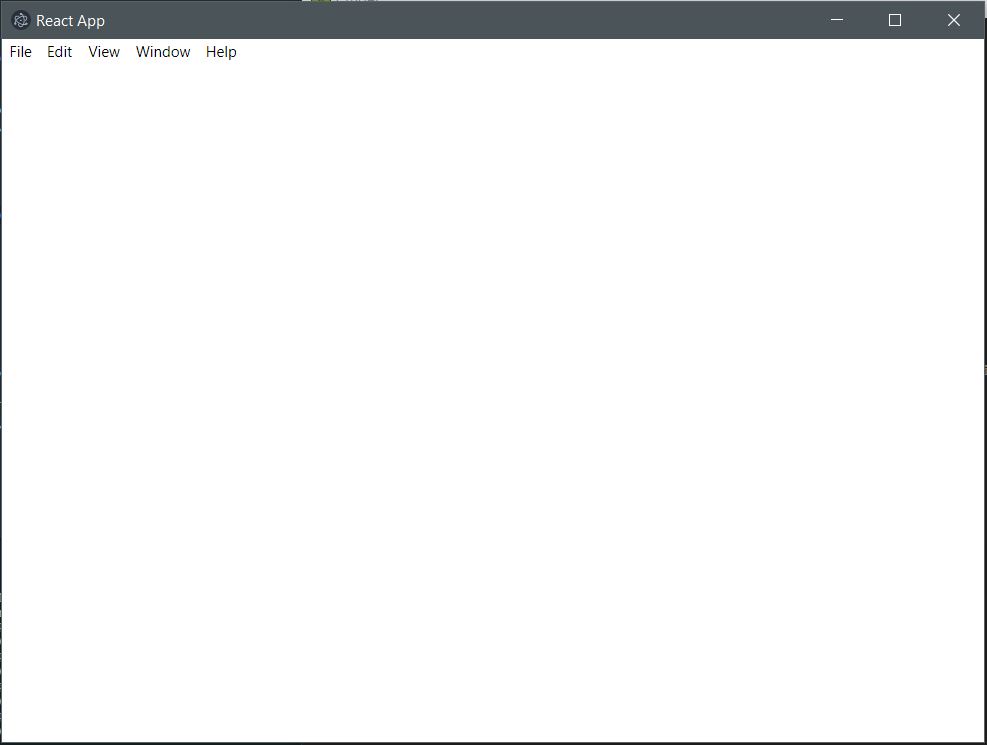
Great! Things are starting to look good now :)
Now let's go ahead and run npm start. The script will now load up a web page of our react code successfully!
But wait a minute... this is not what we are looking for. We're supposed to be seeing our react code in the electron window, so why are we seeing it in the browser instead?
...that's because we essentially have two different processes going on that are doing different things, that have no idea that the other process exists!
So what we're going to have to do is to make electron point to the web server because it has an API that can load up web pages by URL (read about the API method here). This means that we won't be using the browser anymore since we are building a desktop application and that electron can load up content into each of its windows by giving them URLs. So we can instead use the electron windows (which will have access to node.js modules and the local file system).
To be able to make this happen, we will be installing a useful package to detect if the app is run in development or production mode. If the app is runnning in dev mode, then we will use the web server. If the app isn't then that means we have built the files using electron-builder where we load up the app contents through some executable. That's what electron-builder was for.
Go ahead and install electron-is-dev:
npm i electron-is-devNow we are going to go ahead and require this in our electron script and use it like so:
const electron = require('electron')
const app = electron.app
const path = require('path')
const isDev = require('electron-is-dev')
const BrowserWindow = electron.BrowserWindow

let mainWindow

function createWindow() {
  mainWindow = new BrowserWindow({
    width: 800,
    height: 600,
    webPreferences: {
      nodeIntegration: true,
    },
  })

  mainWindow.loadURL(
    isDev
      ? 'http://localhost:3000'
      : `file://${path.join(__dirname, '../build/index.html')}`,
  )

  mainWindow.on('closed', () => {
    mainWindow = null
  })
}

app.on('ready', createWindow)

app.on('window-all-closed', () => {
  if (process.platform !== 'darwin') {
    app.quit()
  }
})

app.on('activate', () => {
  if (mainWindow === null) {
    createWindow()
  }
})
The important lines to look at are these:
mainWindow.loadURL(
  isDev
    ? 'http://localhost:3000'
    : `file://${path.join(__dirname, '../build/index.html')}`,
)
Now instead of directly loading up the index.html file, we applied a condition to use the webserver available from CRA in dev mode or proceed to load up the index.html file (when the environment is not development).
You might have also noticed that we no longer used the path ../public/indx.html and instead changed it to ../build/index.html. This is because CRA internally does not process files inside the public folder, but instead moves them over untouched to the build folder. Since the build folder will end up having all the generated files in the end, we had to point to it.
Now go ahead and run npm start, then run npm run electron.
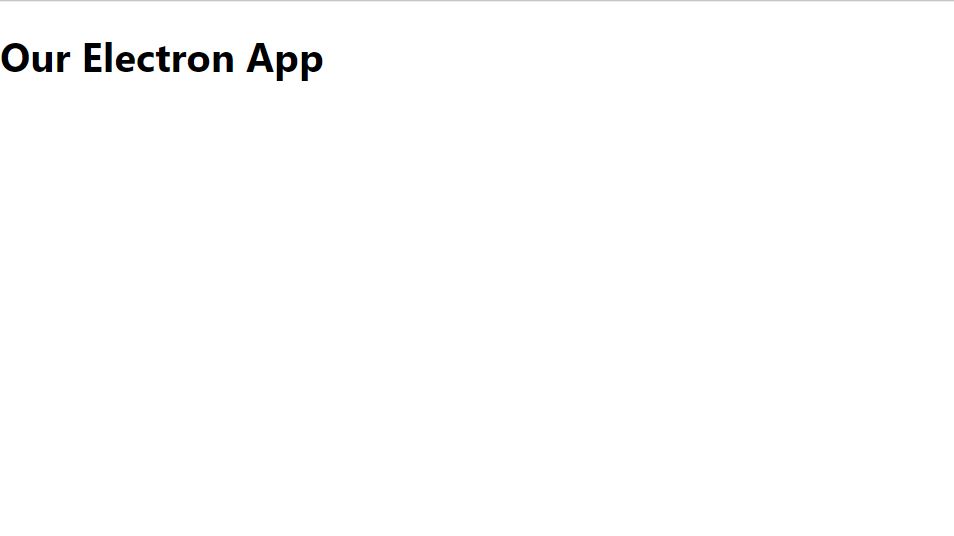
You should now see this:
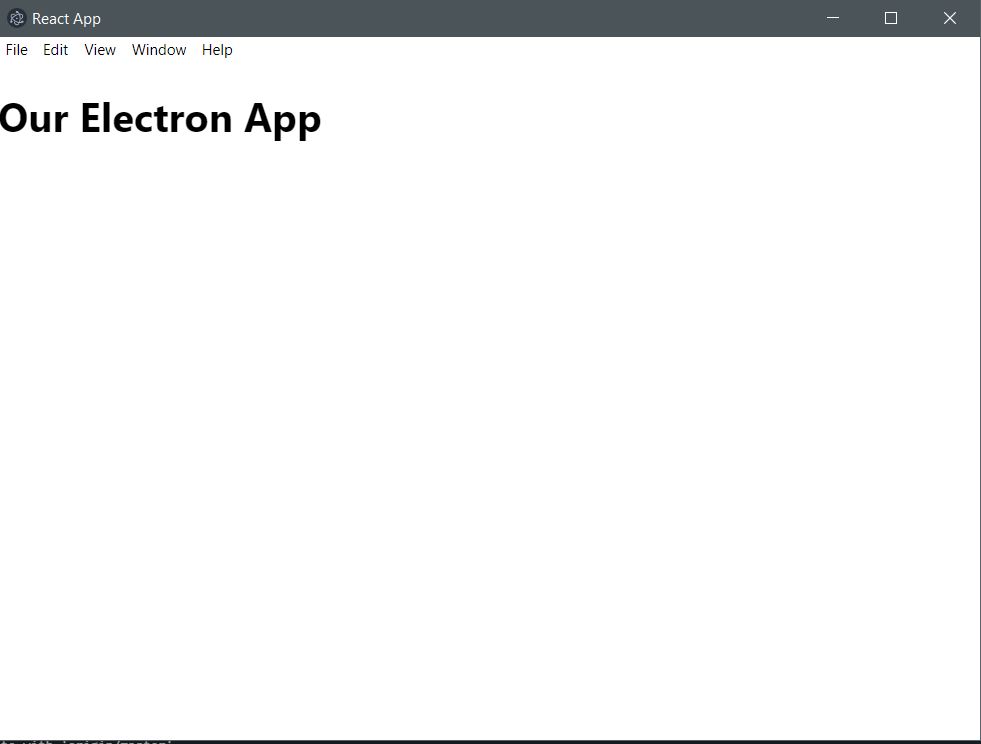
Hurray!
We get the benefits of hot reloading from CRA right into the electron window along with node.js modules and the local file system environment right into the "web" page. How neat is this?
Oh yeah, if you're seeing a browser tab being opened, try setting BROWSER=none to your package.json script like this:
"start": "cross-env BROWSER=none npm run react-start",Lets now make the main electron process restart when we make changes to start.js, because currently we only have hot-reloading enabled for the web page UI.
For this, install electron-reload and nodemon:
npm i -D electron-reload nodemonChange your npm run electron script to this:
"electron": "cross-env NODE_ENV=dev nodemon --exec \"\"electron .\"\"",And simply just require the electron-reload package in start.js:
const electron = require('electron')
const app = electron.app
const path = require('path')
const isDev = require('electron-is-dev')
require('electron-reload')
const BrowserWindow = electron.BrowserWindow
And now the electron window should restart itself when you make changes to start.js.
Conclusion
Congrats, you now know how to create a react desktop application in JavaScript using electron! I hope you found this to be valuable and look out for more in the future!